When printing in Lightroom it can sometimes be frustrating to locate and correctly set the various options for printing. Borderless printing can be especially sneaky. So here are 7 steps to getting borderless prints out of Lightroom.
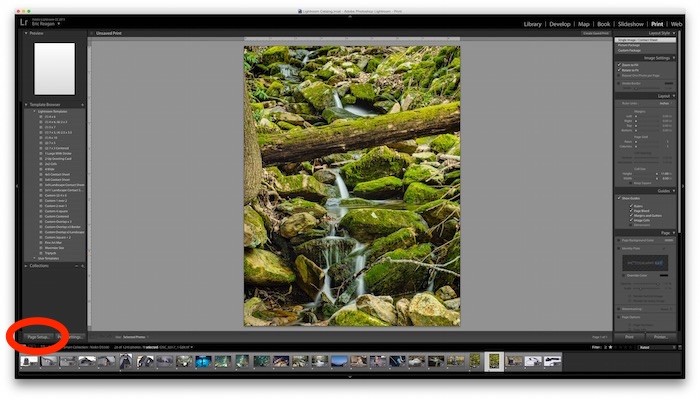
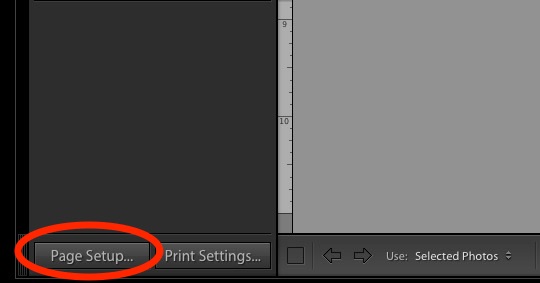
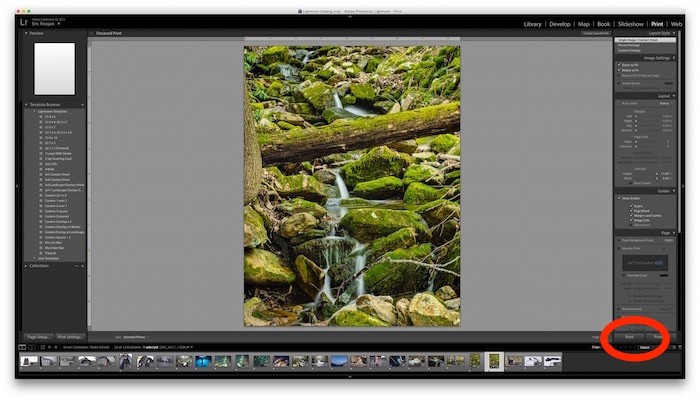
1. Click Page Setup… in the bottom-right corner while in the Print module inside Lightroom.
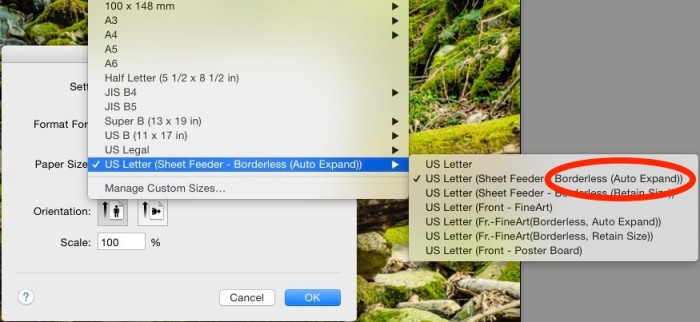
2. Once inside the Page Setup menu box, select the dropdown box for Paper Size.
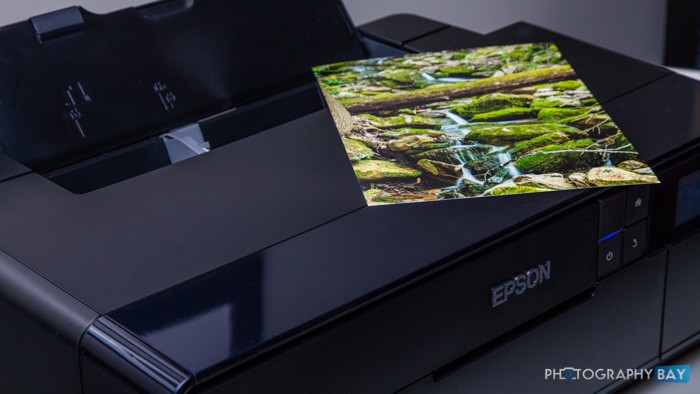
In the dropdown box for Paper Size, there are several paper types with pop-out options that have “Borderless” options within. Of course, make sure you’ve got the right printer selected as well. I’m using the Epson SureColor P600 for this print, but it could be anything.
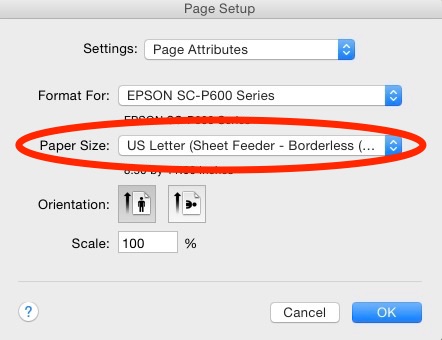
3. Select the appropriate Borderless option for your paper size. Pay attention to the variety of paper options and make sure you select the Borderless option.
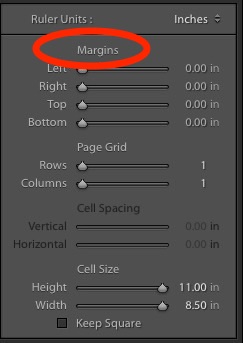
4. In the Layout panel, change your “Margins” to zero (i.e., move the sliders all the way to the left).
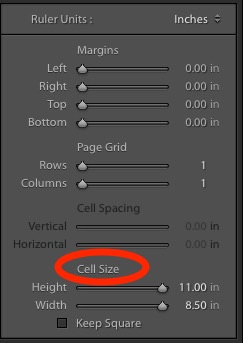
5. In the Layout panel, change your “Cell Size” to the maximum size for your paper type (i.e., move the sliders all the way to the right).
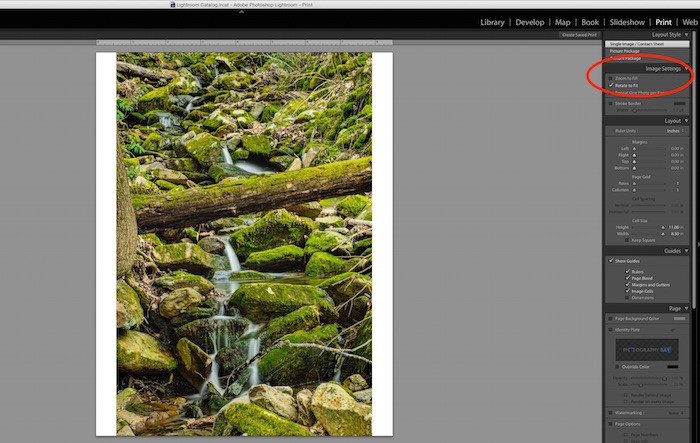
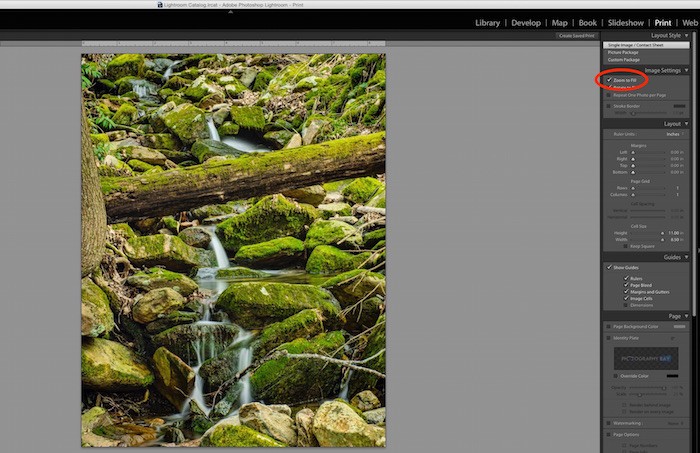
6. If there is still a small white border on either side of you image select Zoom to Fill inside the Image Settings panel, which is in the top right of the Print module.

7. Click Print.
That’s it. You should get a clean borderless print straight out of Lightroom.
Copyright/DMCA Notice: The RSS entry was originally published on Photography Bay. RSSID#794326