As part of an ongoing look at basic camera settings and features, we now take a look at Manual mode on your camera. It most commonly is available on cameras that have a mode dial and is represented by the ‘M’ on that dial – and it is a powerful camera mode that every photographer should understand.
Previously, we have covered other camera modes:
Manual mode is the camera mode that provides you with the ultimate control over your digital camera.
As a review, there are three elements that determine the exposure of a particular image: the lens aperture, the shutter speed and ISO (or sensitivity of the image sensor or film). If you are not familiar with these three elements and how they affect exposure, I encourage you to read the following articles before moving forward.
Manual Mode = Ultimate Creative Control
Before digital cameras, there were only two elements of exposure that you could control in manual mode on film cameras – aperture and shutter speed. For film shooters, ISO was determined solely by the film you chose to load into your camera. Then, you were locked into a sensitivity setting for the next 24-36 frames that you captured in your 35mm SLR. (Of course, medium format cameras often provided the option of a removable film back so you could change film mid-roll but the functionality of Manual mode was still limited to controlling aperture and shutter speed.)
In today’s digital cameras, however, we have control over all three facets of exposure when shooting in Manual mode. The sensitivity of the image sensor can often be adjusted by the press of a button and the turning of a dial.
When to Use Manual Mode
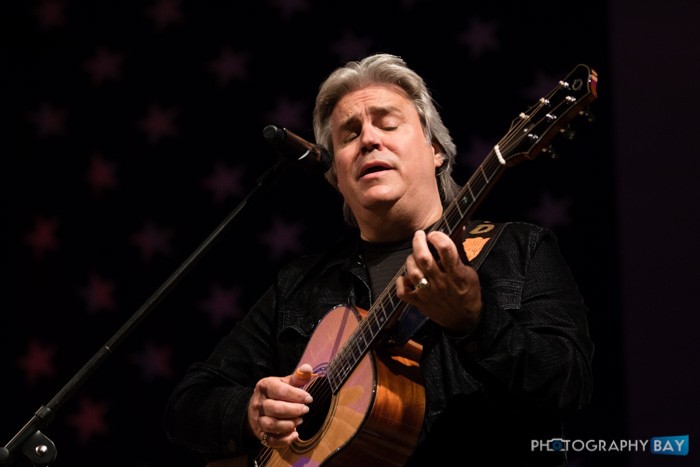
The use or non-use of Manual mode varies widely from photographer to photographer. Some photographers only shoot in manual mode and are masters of controlling all three exposure elements in any situation. Other photographers use manual mode only when lighting is consistent enough to lock down an exposure and limit the camera’s metering decisions. Or perhaps, there is a creative reason tied to motion and/or depth of field that is best addressed by fine tuning the image in Manual mode.
It is almost universal that Manual mode is chosen when shooting with strobes inside a studio. In these cases, lighting is consistent from frame to frame and any adjustments made from a base exposure are best determined by the photographer’s own judgment.
Manual mode is also very useful when the camera’s meter is going to cheat your creative vision. Think about heavily backlit situations where you may want to blow out the highlights and bring the exposure of your subject up. Sure, you could dial some exposure compensation but as you reframe the subject from shot to shot, it could produce varying results in the exposure.
Another feature for Manual mode shooters that is becoming more and more common on today’s digital cameras is Auto-ISO in Manual mode. This feature somewhat takes the “manual” out of manual mode but it allows you to operate at a designated aperture and a designated shutter speed without having to dial in a sensitivity setting for every shot.
Auto-ISO in Manual mode is helpful in situations where you might want to keep your aperture wide open but also keep a fast minimum shutter speed in varying light. Think about a fast-paced sporting event with changing light. If you hit the shadows at f/2.8 and 1/1000s, your sensitivity might jump up to ISO 3200 or higher and then drop to ISO 200 if you hit a pocket of daylight.
In the above scenario, if you’re in Aperture Priority, you may get motion blur in the shadows at 1/60s. If you’re in Shutter Priority, you may end up with an f/11 aperture setting in the pocket of daylight, which will ruin the isolation of your subject on the field of play. So, Auto-ISO to the rescue in manual mode. Today’s top-end sports cameras (and many prosumer models) shine very well at ISO 3200 and below.
When I Use Manual Mode
I use Manual mode when I need it. There are some places that I shoot frequently where the lighting is consistent and I just know what to shoot in Manual mode using a variety of different lenses.
I’ve gotten comfortable with shooting Manual mode over the years and if my camera’s metering is producing inconsistent results, I’m okay with switching over to M to get the shot. It’s something that took time to get used to but now I have the confidence of shooting in Manual mode so that it’s just another tool in my bag.
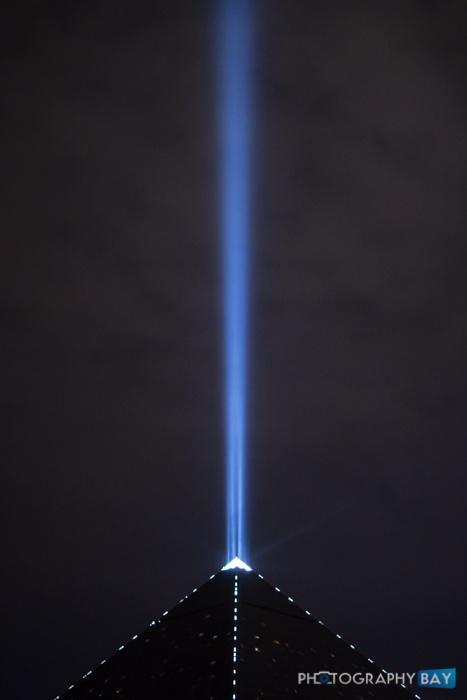
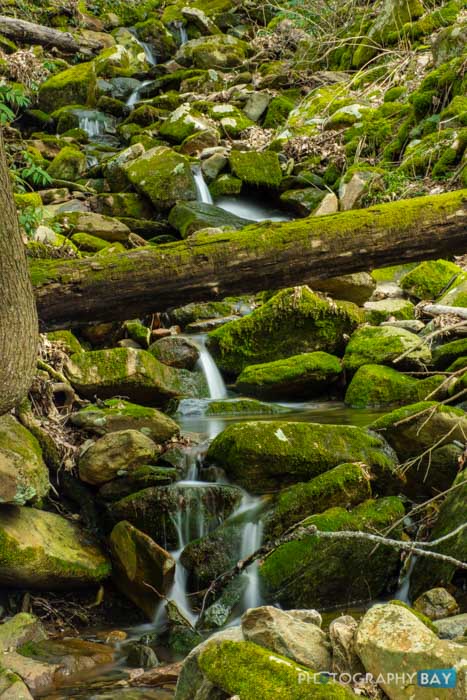
Nighttime and long exposure shots is a another common scenario when I will use Manual mode. These are often situations where your camera’s exposure judgment will just get it wrong.
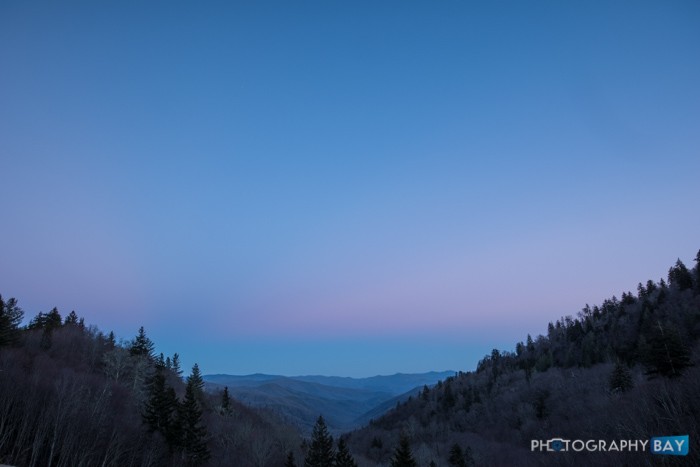
In these situations, your camera’s meter will more than likely leave you with highlights that are too bright or shadows that don’t provide enough detail.
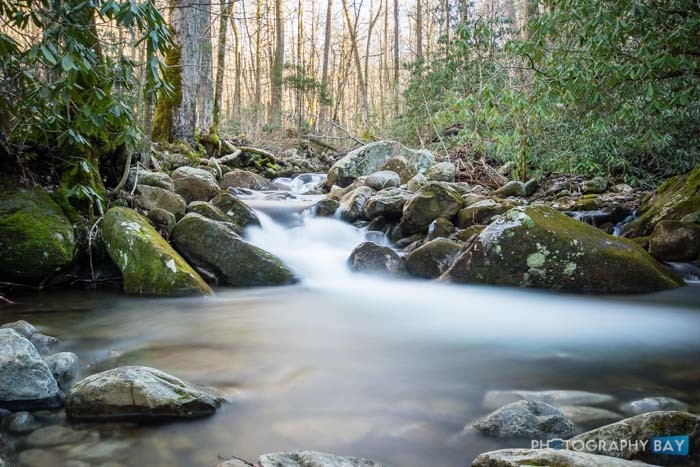
And when you are talking long-exposure situations, your camera will never understand how you see the final image in your head. So, you have to take control of everything and dial in the creative aspects of the exposure just they way you want it.
I will also most often use Manual mode for flash photography. Unless I’m working with speedlights and want to mix ambient light, I click over to Manual mode for nearly all my flash shooting.
Wrapping Up Manual Mode
The Manual mode on your camera is the mode that provides you with the greatest control over your final image. You can choose to use creative apertures or shutter speeds that you can use in Aperture Priority and Shutter Priority modes, but you can choose both for the same shot when you can rock Manual mode.
If you have been afraid to shoot in Manual mode with your camera, take some time this week and just spend a while in Manual mode. Don’t be afraid to take a ton of bad photos until you figure it out. You don’t have to share the photos with anyone but you won’t get comfortable with Manual mode and you won’t grow your skills until you start making some mistakes with new concepts.
Get to know the relationship among ISO, shutter speed and aperture. Go back and read those articles if you need to. Make some creative decisions on your own and take the control away from your camera.
Happy shooting and good luck!
Copyright/DMCA Notice: The RSS entry was originally published on Photography Bay. RSSID#794326