As photographers, we often pride ourselves in our ability to see the inspiration and creative potential in any scene. This is a skill that comes through practice and the development of your artistic eye over time. This may seem to come naturally, especially for seasoned photographers, but there is never a bad time to refresh your skills. I find this is best accomplished in the form of a good challenge. For this article, that is precisely what I sought: an exercise in inspiration.
I invite you to follow along.
The Challenge: Taking a Scene from Mundane to Interesting
For this challenge, I headed out to my very own, very country, backyard. For the last year, we’ve had a growing pile of wood in the far end that’s been calling to me. It was inevitable that I would eventually answer it and use the experience to create an interesting photo. One recent morning, I had the right combination of inspiration and caffeine to take on that challenge.
In this article, I’ll be showing you my step-by-step process in taking an ordinary scene (a slightly furry pile of wood) and making it visually interesting. You can follow along by taking a photo in your own backyard, if you so choose. Actually, I encourage you to do so. It certainly can be a challenge to take something you see every day and turn it into something visually interesting.
Let’s get started.
Here is the view from my back deck into the backyard, complete with a pile of neglected wood from a large tree we had cut down.
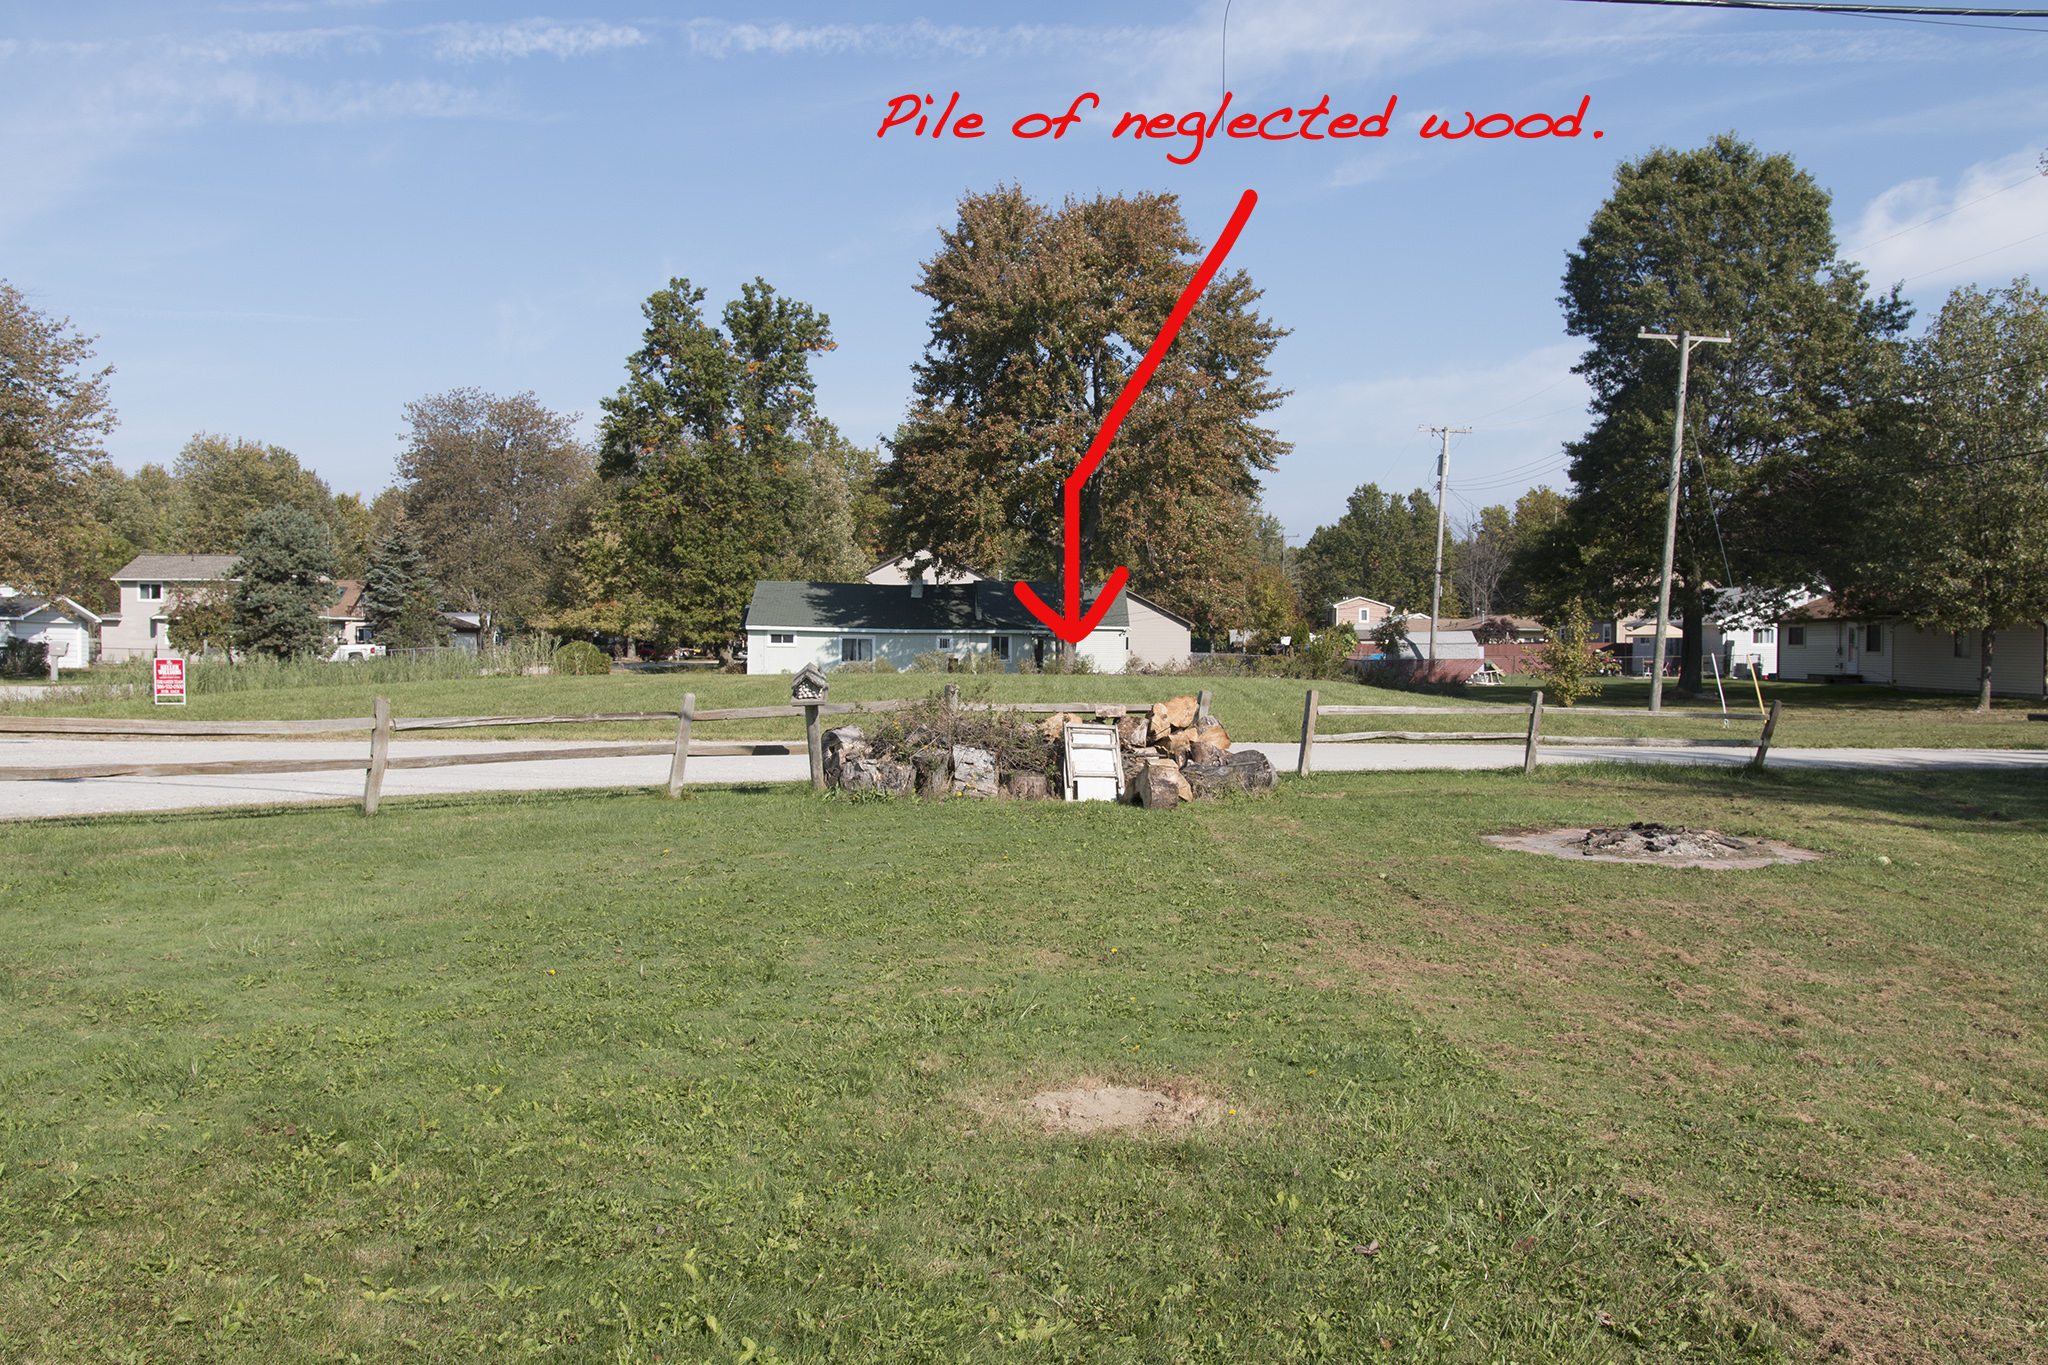
Yes, that pile of lumber is definitely neglected. Copyright Chamira Studios.
Not all that inspiring, huh? It’s that pile of wood in the far end that beckons, so that’s where my focus will be. Tentatively, I head over with my camera.
Selecting a Strategic Spot
Choosing where I’m going to take the photo is important, because it will directly affect the visual interest of the scene. A quality vantage point is necessary, so in this case, I settle down beside a dandelion that is positioned directly in line with the pile of lumber. My thought process was that the bright yellow flower could lend some interesting composition to the scene. It seems that being too lazy to apply weed killer to the yard had its advantages.
Vary the Angle
Another way to add interest to a seemingly mundane vista is to vary the angle. In this case, my yard is unforgivingly flat, so I hunkered down as low as possible to the wet ground, actually to the point of lying down on the ground (on a blanket). This instantly gave the scene a more dramatic point-of-view.
After a handful of test shots, I positioned myself so that the fanciful dandelion sat on the right side of the frame. However, I chose to keep the pile of wood in focus. This resulted in the dandelion giving the photo a bit of a whimsical feel. Also, I purposely made sure the birdhouse was in the left of the frame. As for the clouds, they decided to cooperate by fanning outwards in the top half of the frame. Taking the photo from a low angle also made them appear more striking.
Here’s the resulting shot. I was using my Sigma 18-35mm f/1.8 lens.

Copyright Chamira Studios.
Applying Style through Editing – A High Level View in Photoshop
My next step was to bring out the photo’s artistic potential by focusing on its best features. Depending on the photo you’re using, your stylistic needs may be different than mine, so I’ll give a general description of the edits I made.
Because I’m focusing on this one photo, I decided to process the raw file using Adobe Camera RAW and apply a dramatic style using Photoshop. The first step was to make some simple corrective edits and recover detail within Adobe Camera RAW. I simply boosted the saturation and clarity to recover a bit of the integrity of the original scene as my eyes perceived it when I took the shot. When I felt the image was effectively neutralized, I opened it in Photoshop.
The beauty behind this scene was crying to be set free. I applied stylistic edits by adding a Color Balance adjustment layer, as well as a Brightness/Contrast adjustment layer. The goal was simply to bring out the qualities that were already there. The striking greens and blues added so much vibrance and vitality to the scene.
I also used the Levels adjustment layer to boost the white, blacks, and overall richness of the scene.

We’re almost there. Copyright Chamira Studios.
Then, I strategically used the Burn tool to enhance the blues in the sky, as well as the green areas of the grass. I also Dodged the clouds in the sky and lighter areas of the grass, in order to make those areas stand out against the areas I had previously burned.
Final Photo
All in all, the edits took about 20 minutes. I was fairly satisfied with the end result, although looking back at it now, I might have toned things down a wee bit if I were to do it again. It’s all a learning experience, and a fun one!

The final result. Copyright Chamira Studios.
Keeping your skills sharp is essential for photographers at all stages. I encourage you to do a similar exercise in your own backyard, or even in a nearby park. It’s a great exercise in spotting potential and flexing your creative muscles.

Chamira Young is an artist and photography with a passion for creativity and productivity, based out of Metro Detroit.
You can read more of her articles HERE.
Pro Photographer Journey Podcast • ChamiraStudios.com
This Post Sponsored by:
Perfectly Clear for Photoshop or Lightroom is all about saving you time so you can focus on doing what you love best. Get a free trial of the award winning plug-in here.
Lighting Survey. Take the chance to win an iPhone 6s or 6s Plus. Respond to a 5 minute survey regarding lighting equipment for photographers — http://bit.ly/lightingsurvey
Polarr photo editor: All the pro tools, in one place. Polarr brings the most advanced toolset right to your mobile. With curves, dehaze, denoise, custom filters, and more, Polarr makes it easy to edit online or offline. Get it free at https://www.polarr.co/
The HDR Learning Center. Check out new ways to use High Dynamic Range photography to make compelling images. Free tutorials and posts to get results. Produced in partnership with HDRsoft
Arizona Highways Photo Workshops. For more than 30 years, Arizona Highway Photo Workshops has been committed to helping photographers find inspiring destinations, quality education and spectacular images. Get more information (and enter our contest) at http://www.ahpw.org/FindIt/
Platypod Pro™– the world’s most compact camera support. Use it with your ballhead in place of a tripod. Click here for more info — http://bit.ly/platypodpro
lynda.com Learn photography anytime, anywhere, and at your own pace—from bite-sized tutorials to comprehensive courses. Try lynda.com free for 10 days by visiting lynda.com/Photofocus
Filed under: Inspiration, Technique & Tutorials Tagged: inspiration, Photoshop 


![]()