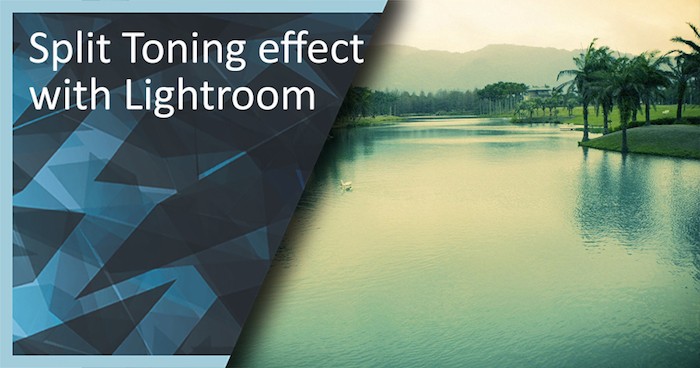
Lightroom, being the versatile software it is, has several creative effect options available for us to test. Perhaps one of the easiest effects to accomplish – and the most stunning in appearance – is the Split Toning effect, which consists of an image in which the tonal values on Highlights and Shadows are replaced by tints selected by the user.
You might be asking yourself, “why is it so important to learn the basics of the Split Toning effect in Lightroom?” Well, let me tell you. This kind of technique is very useful in media advertising, for instance if you were prompted by a client to create a “green ad” about a product they are selling. You can easily change the tonality of the image to match the requirement for a green tint by correctly selecting the tints for the image you plan to use. Furthermore, advanced effects like Lomographic pictures require the proper knowledge of how to create a Split Toning effect.

Ways of creating a Split Toning effect
You can achieve a high quality split toning effect by using quality Lightroom presets or – If you happen to be old-fashioned enough – you can create it simply by accessing the Split Toning tab present on the Develop module of Lightroom.
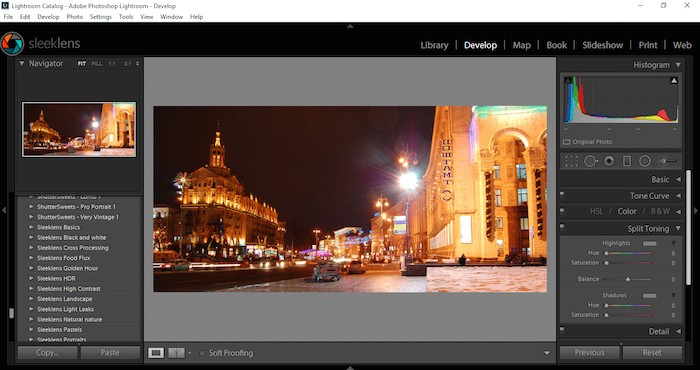
Lightroom will show the parameters needed to control first Highlights and then Shadows. Let’s start by changing the hue value on Highlights.
By clicking the gray rectangle displayed next to the word “Highlights”, a new window will be displayed in Lightroom’s interface, prompting the user to pick a hue. In Lightroom, this is done with the great advantage of a live view that shows you how the effect is going to look.
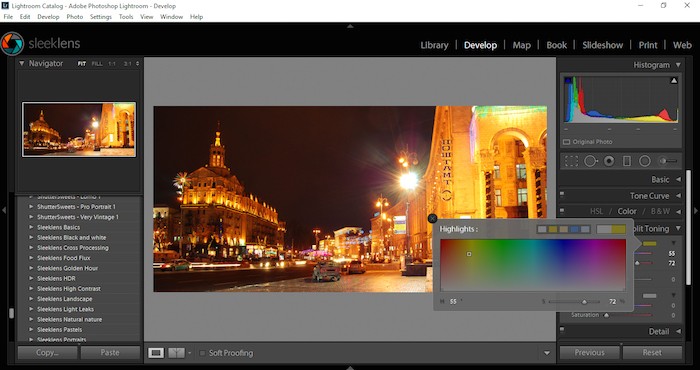
The same happens with “Shadows”, although in most cases the effect will be much more noticeable than it is when you change the hue value for Highlights.
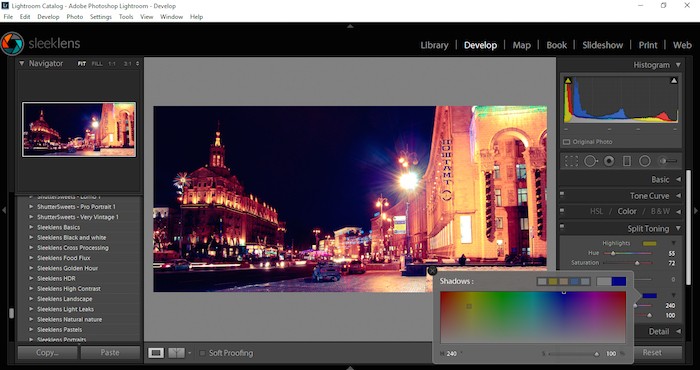
The saturation slider for each option controls how strong the applied hue is going to be in the image, while the Balance slider controls the amount of each hue is applied to the image. Here, a zero value translates into equal amounts of Highlight and Shadow tinting, whereas if the balance goes towards one side, that side represents more noticeable pigment.
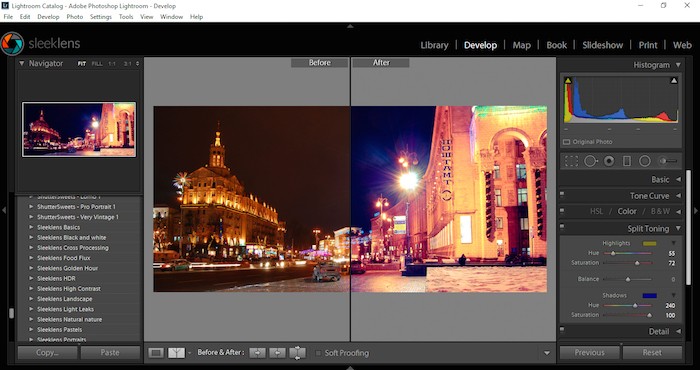
If you create a Before/After view of what is really going on with the picture, you can easily see, why it is extremely important to know which hue to apply in each case.
In case you want to work with presets, keep in mind that you are likely to need a good library of presets labeled under either “Split toning” or “Cross Processing”

Applications of the Split Toning effect
As we mentioned before, the Split Toning effect can be used for Lomographic photo effects created in Lightroom, which are not only popular, but also have a vintage flair to them.

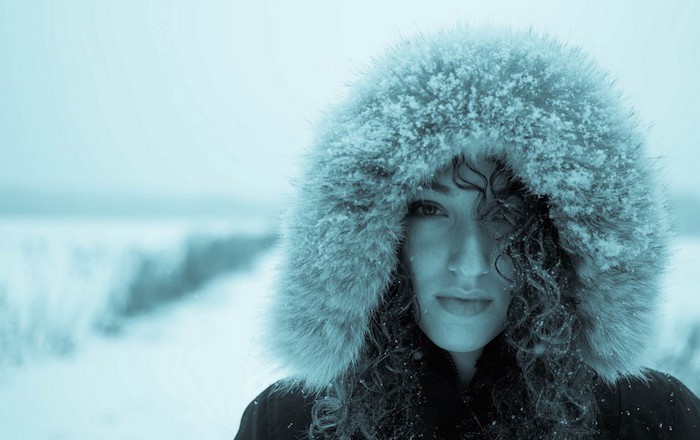
On the other hand, effects like those seen in Cyanotype portraits can be created with a good amount of Split toning using blue tints.
However, perhaps one of the most desired effects by professional photographers, which is also created using Split Toning, is the Cinematic tint effect, which is basically what I did to the image I showed as an example of how the Split Toning effect works. All you need to do in order to accomplish this effect, is to use a golden tint on the Highlights and blue strong Shadows (like blue navy). The image will change in tonality in a way that can’t properly be called a cold effect, since the golden tint applied on the highlights tend to warm the image.
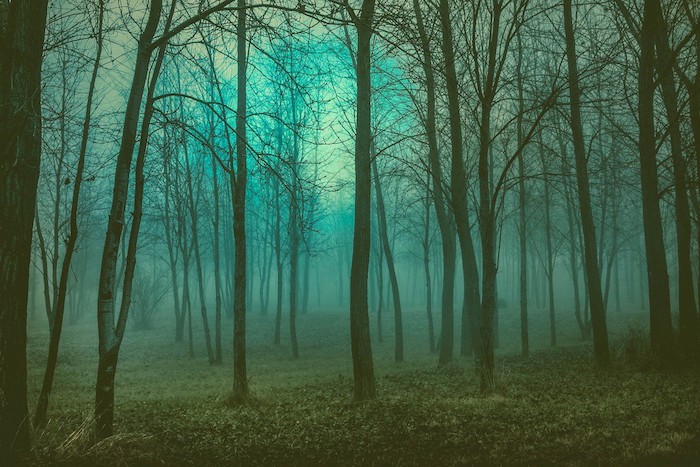
If you want to another good reason why you should know how to use Split Toning effect in your pictures, let me tell you that Landscape photography tends to look amazing with Split Toning effects. You can often use them to enhance certain areas of the image, such as when using green split toning on shadows if your aim is to enhance vast green areas available on the image.

Considerations prior to creating a Split Toning effect
First of all, keep a close eye on the elements available at the scene and the hues provided by them. Avoid using tints that repeat or enhance tones available at the scene you ought to edit.
Split toning tends to dramatically change the mood of the image you are working on, which comes really handy in cases of silhouette photography where the photographer seeks to create a dramatic effect using the available tools.
By making the tint on the Shadows too dark, you can end up burning data from the image, meaning that in some cases you need to tweak the values on the Saturation slider in order to avoid losing image data.
Combine this effect with a nice looking black vignette, and you will likely amaze yourself by how quickly a dull lifeless image can be turned into a beautiful piece of art. Just how much you decide to work with it and how much effort you want to apply to the job is going to define the quality of the final product.
About the Author
Sleeklens is an Adobe Lightroom-focused site, having authored several bundles of presets for Adobe Lightroom users. With the aim of making users better photographers, they also host communities of Adobe Lightroom users in English, Spanish and Portuguese.
Learn more about their work below:
Copyright/DMCA Notice: The RSS entry was originally published on Photography Bay. RSSID#794326