We have all seen beautiful portraits ruined by aggressive retouching. How can we tell if a portrait crosses the abusive retouching line? It’s simple, if the person’s own mother doesn’t recognize them, you’ve gone too far. Thankfully there are many retouching programs that help us achieve pleasing results. My newest ally in the retouching battle is Perfectly Clear by Athentech.
For years Photo labs and Photo Kiosks have been using Perfectly Clear (in fact 30 million prints a day on average). It’s fast and does a great job at batch retouching. Most photographers, myself included, never knew their labs were using it.
What’s more exciting is Perfectly Clear is available as a plugin for Photoshop and Lightroom giving photographers a powerful tool they can use in their workflow. I was first introduced to the software in my hotel room at 2 a.m. by Photofocus Publisher and Editor Richard Harrington. I was exhausted but his energy and enthusiasm while he showed me how he edits his images kept my attention. We finally went to bed about an hour later. It’s funny, he used Perfectly Clear to remove bags under eyes but by keeping me up he gave me bags under my eyes. In the end, it was worth it.
“With Great Power Comes Great Responsibility”
— Benjamin Parker (Marvel’s Spider-Man’s uncle)
It only takes a few clicks of the mouse to use this powerful tool. Fortunately, Perfectly Clear takes on the responsibility of making sure we don’t abuse the retouching power by giving us a good set of default presets to start with. I like to start with a default preset, then tweak the settings to my style. When I have the image looking the way I want, I save the preset as my own. The next time I fire up Perfectly Clear, my preset becomes the default.
Harness the Power of Smart Objects
By adding smart objects to our workflow we can apply the filter as a smart filter. This makes our edits non-destructive, in other words we can make changes to the image after we apply the filter. Once we have the image looking the way we want, we save and close the image.
5 Easy Steps for the Right Amount of Retouching
Step 1: Create Smart Object by right clicking on the background layer and select Convert to Smart Object.

Step 2: Apply Perfectly Clear as a Smart Filter is easy. From the Filter menu click Athentech Imaging and select Perfectly Clear to launch the plugin.

Step 3: Start with a Default Preset by clicking on Beautify then select Adjust to modify your settings.


Step 4: Tweak your image by adjusting the sliders. Start from the top and work your way down. Perfectly Clear is intelligent enough not to apply a setting if it doesn’t need it. Hovering your mouse over a slider’s name with bring up a description box for that slider. You can also learn more about Perfectly Clear by clicking on watch tutorials.


Step 5: Save Preset by clicking on create. Name your preset and add a brief description describing what the preset is used for.


Using Perfectly Clear will help you to apply the right amount of retouching to any image. Give it a try.
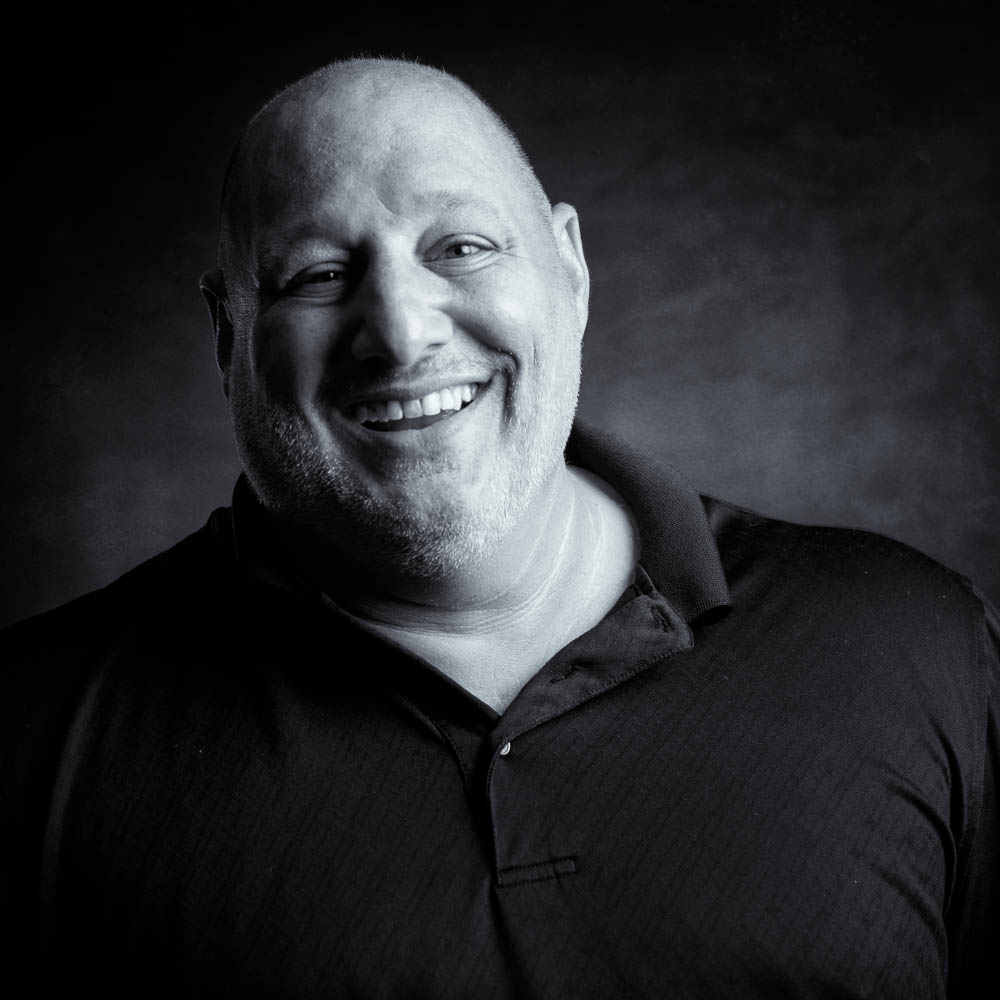
*Feature image © Robert Vanelli
Vanelli is a photographer, educator and author based in Florida. Currently he shoots for Inside Lacrosse Magazine, teaches workshops, and writes for Photofocus. Click here for a list of Vanelli’s articles.
https://www.facebook.com/mrvanelli
https://twitter.com/vanelli
This Post Sponsored by:
Perfectly Clear for Photoshop or Lightroom is all about saving you time so you can focus on doing what you love best. Get a free trial of the award winning plug-in here.
Polarr photo editor made for everyone – yes everyone deserves high quality photo editing tools, regardless of the type of camera you use and level of skills, regardless the platform, no matter the place. Polarr makes it easy to edit photos any place online or offline. Get it free at https://www.polarr.co/
The HDR Learning Center. Check out new ways to use High Dynamic Range photography to make compelling images. Free tutorials and posts to get results. Produced in partnership with HDRsoft
Arizona Highways Photo Workshops. For more than 30 years, Arizona Highway Photo Workshops has been committed to helping photographers find inspiring destinations, quality education and spectacular images. Get more information (and enter our contest) at http://www.ahpw.org/FindIt/
Platypod Pro™– the world’s most compact camera support. Use it with your ballhead in place of a tripod. Click here for more info — http://bit.ly/platypodpro
Creative Cloud Photography plan. Take your best shot and make it even better with the Creative Cloud Photography plan. Get all the essential tools, including Adobe Photoshop Lightroom and Photoshop, to craft incredible images every day, everywhere — whether you’re a beginner or a pro. It’s all your photography. All in one place.
lynda.com Learn photography anytime, anywhere, and at your own pace—from bite-sized tutorials to comprehensive courses. Try lynda.com free for 10 days by visiting lynda.com/Photofocus
Filed under: Photography, Portrait, Review, Software, Technique & Tutorials Tagged: Perfect retouch, Perfect Skin, Perfectly Clear, Photo Retouching, Robert Vanelli, Vanelli 


![]()